Chat Online
Hello, please leave your name and email here before chat online so that we won't miss your message and contact you smoothly.
  • Name *
  • Phone
  • E-mail *
  • Content *
  • Chat Online
    - Solar PV Roof Mounting System -
    Home-Products- Solar PV Roof Mounting System -Cheaper Cost Standing Seam Roof PV Bracket Mounting Sturucture
    Cheaper Cost Standing Seam Roof PV Bracket Mounting Sturucture
    Cheaper Cost Standing Seam Roof PV Bracket Mounting Sturucture
  • Cheaper Cost Standing Seam Roof PV Bracket Mounting Sturucture
  • Cheaper Cost Standing Seam Roof PV Bracket Mounting Sturucture
  • Cheaper Cost Standing Seam Roof PV Bracket Mounting Sturucture
  • Cheaper Cost Standing Seam Roof PV Bracket Mounting StuructureCheaper Cost Standing Seam Roof PV Bracket Mounting StuructureCheaper Cost Standing Seam Roof PV Bracket Mounting Sturucture

    Cheaper Cost Standing Seam Roof PV Bracket Mounting Sturucture

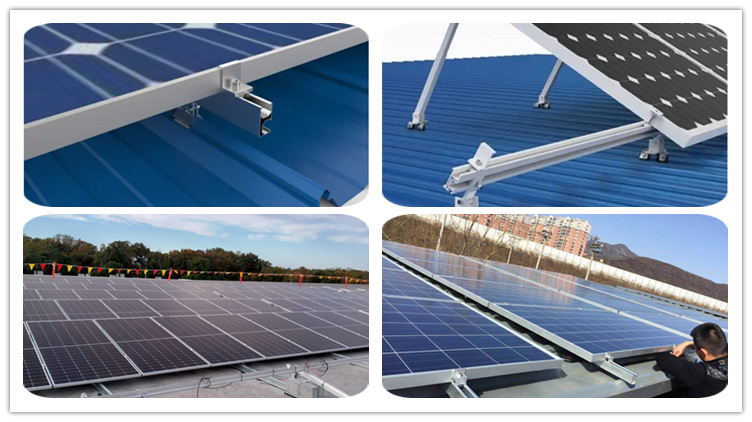
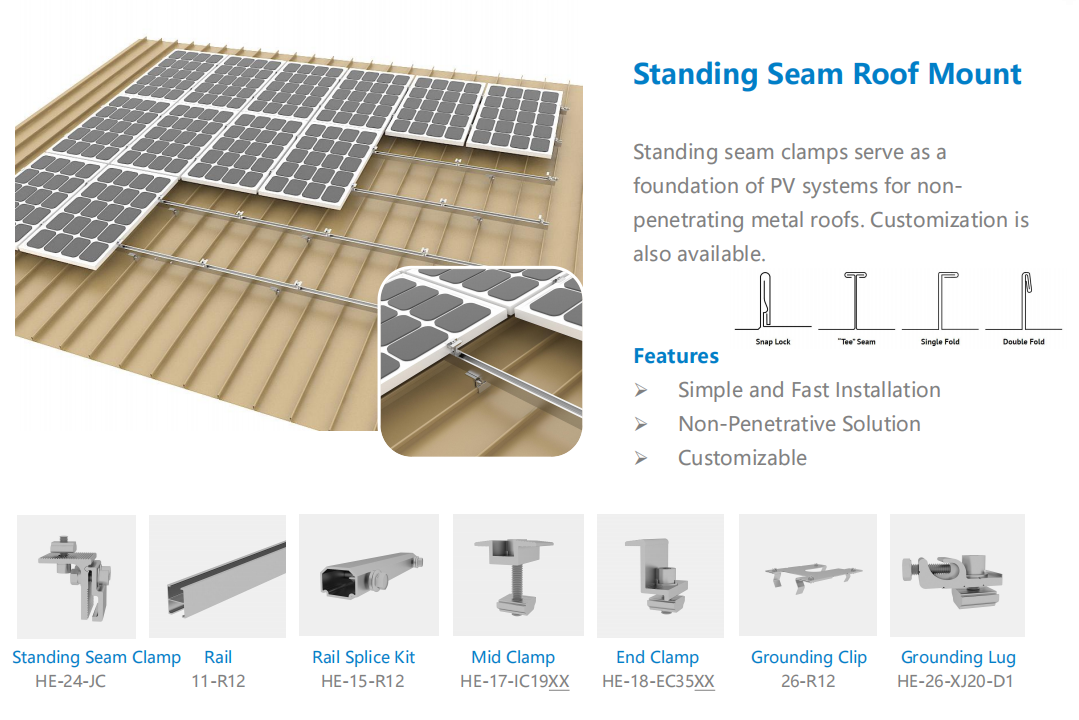
    Most PV roof mounting systems are designed for straightforward installation, with pre-engineered components and quick assembly. They often feature user-friendly designs and clear instructions, making the installation process efficient and accessible.

      Simple and fast installation

      Nonpenetratice solution

      Customizable

    Cheaper Cost Standing Seam Roof PV Bracket Mounting Sturucture 

    Advantage

    1. Building advantage is short, convenient and flexible;
    2. Solar panels can be added or reduced according to actual KW needed;
    3. Roof PV mounting brackets system can save ground space, won’t occupy the space on the ground;
    4. No waste, no noise during system working. 
    Technical Details

    To install solar panels onto a clip lock roof, here are the general steps to follow:


    1. Assess the roof: Start by assessing the structure and condition of your clip lock roof. Ensure it is in good shape and can support the weight of the solar panels and mounting system.

    2. Determine panel layout: Plan the layout of your solar panels, considering factors such as available roof space, sun exposure, and any shading issues. This will help optimize energy production.

    3. Install flashings: Flashings are crucial for weatherproofing your roof. They should be installed around any penetrations, such as roof vents or chimneys, to prevent leaks. Follow the manufacturer's instructions for your specific flashing system.

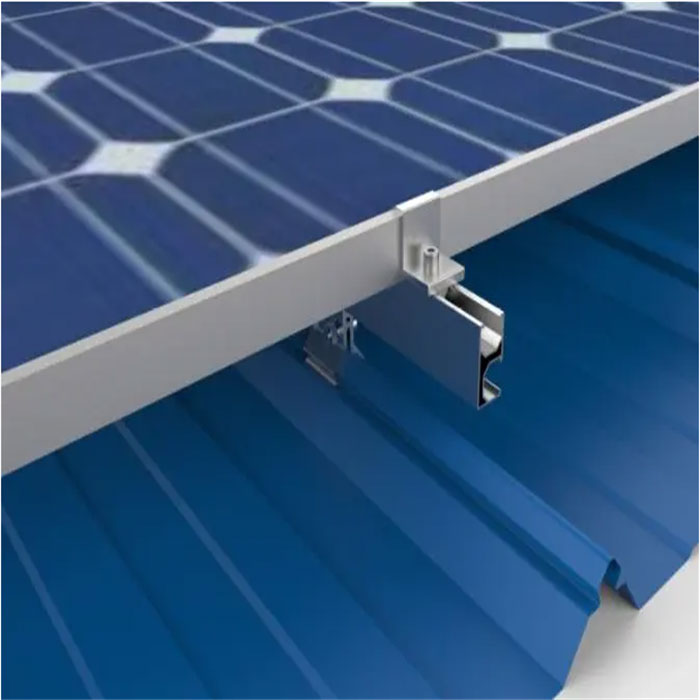
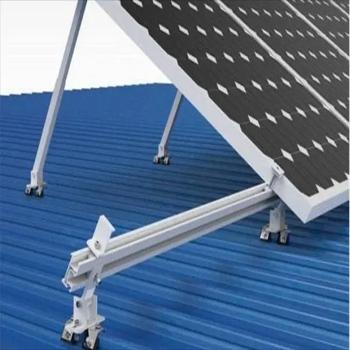
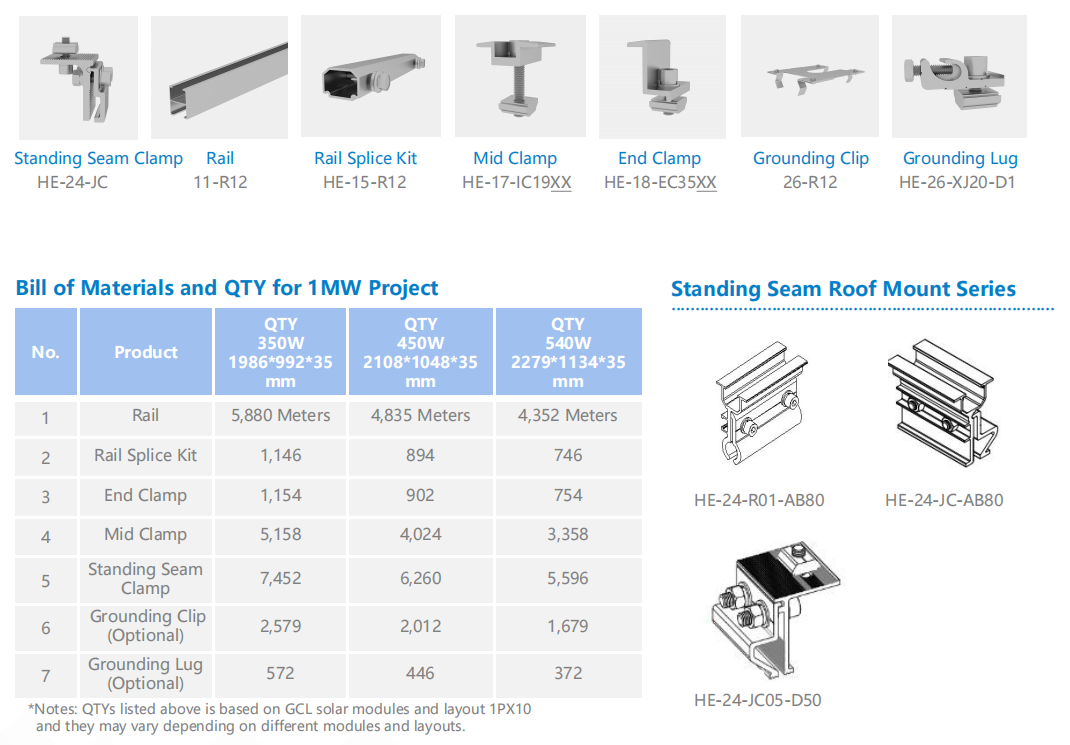
    4. Mounting system installation: Choose a PV roof mounting system designed for clip lock roofs. The system will typically consist of rails, clamps, and attachments. Follow the manufacturer's instructions to securely fasten the mounting system to your roof.

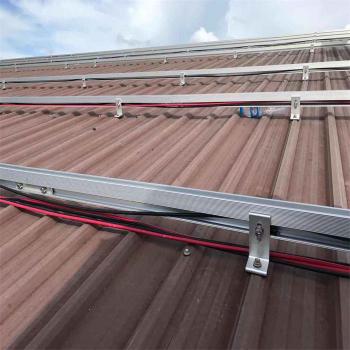
    5. Attach rails: Install the mounting rails onto the attachments, ensuring they are level and properly aligned. The number of rails required will depend on the size and layout of your solar array.

    6. Install panel clamps: Securely attach the panel clamps onto the rails, ensuring they align with the mounting holes on your solar panels.

    7. Place solar panels: Carefully place the solar panels onto the clamps and attach them securely. Double-check their alignment and spacing to ensure a uniform and aesthetically pleasing installation.

    8. Connect wiring: Consult a certified electrician to safely connect the solar panels to your electrical system. This includes installing the necessary wiring, inverters, and monitoring equipment.

    9. Test and activate: After installation, have a professional perform a final inspection and verify that the system is operating correctly. Once everything is confirmed, you can activate and start generating clean energy!

    Remember, these steps provide a general overview, and it is important to consult with a professional solar installer who can assess your specific roof and provide guidance tailored to your needs.
    Cheaper Cost Standing Seam Roof PV Bracket Mounting Sturucture
    Name *
    Tel *
    PROJECT
    E-mail *
    Project Detalis *
    Related Products